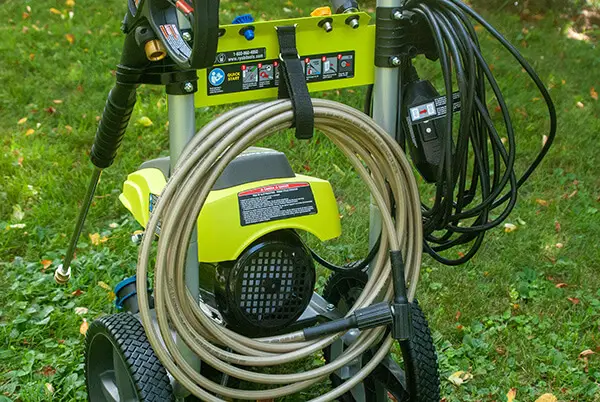
Today, pressure washers may be found in nearly every house in the United States. With their strength, they’re able to make cleaning a breeze. Furthermore, a garden hose extends the reach of a power washer.
To begin with, attaching the hose to the washer is not tricky. However, the issue begins with the removal of the hose. Attempting to remove the garden hose causes many individuals to break out in sweat.
You are not alone in finding it difficult to disconnect the garden hose from the pressure washer. However, you could be so frustrated by a blocked garden hose that you consider cutting it off and buying a new one.
In this blog article, I’ll show you how to remove the hose from your pressure washer and how to fix the pressure washer hose without the help of a professional.
The Reasons Why You Can’t Remove Garden Hose From Pressure Washer
-
Type of Material
Certain materials, such as brass and plastic, are ideal for wet jobs, while others, like aluminum, are incredibly harmful.
When water comes into contact with metal and is then exposed to oxygen, a process known as oxidation occurs, which allows rust to develop on the metal’s surface.
Rust makes things more challenging to work with, and it causes them to degrade and become more brittle.
You may have encountered this problem with interior screws used for outdoor applications that appear challenging to remove from the material.
Unfortunately, if your hose connections are built of inappropriate materials, this problem might arise.
Most reputable manufacturers will utilize brass on their hoses. At the same time, some may opt for plastic owing to reduced production costs since both of these materials are resistant to corrosion over time.
This is something to keep in mind if you’re looking for a new hose since you don’t want to deal with the same issue again.
-
Excessive tightness
It’s typical for homeowners to overtighten their gardening equipment to achieve a water-tight seal between the fixture and the hose connection, which will only make it more difficult to remove at the end of the season.
A better option is to invest in a higher-quality hose that allows you to tighten everything with a medium grip, making it much easier to manage later in the season.
-
Damage in general
The spigot and hose connector is put under additional stress when you tug and pull on your hose to move it further away from your house.
This is why you should make sure you select the appropriate hose length for the size of your property since you might risk the connector bending or breaking.
Even while a broken connection would usually dislodge itself from the fixture, a twisted one can be a real pain to remove.
To form a seal, the threads on the connection and spigot must meet exactly, and if one part is bent, you won’t be able to unthread it as quickly as you put it on.
Extensive connection damage may be aggravating, mainly because you’ll almost certainly have to destroy the threads to remove your hose.
Things You’ll Need To Remove Your Pressure Washer’s Garden Hose
Before you begin, double-check that the following items are in working order. You could get into some problems if you don’t.
- An extra pair of gloves
- A relaxing chair
- An ideal wrench
- A little bowl
- A jar containing hot water and lubricants
- A hacksaw
- A piece of fabric
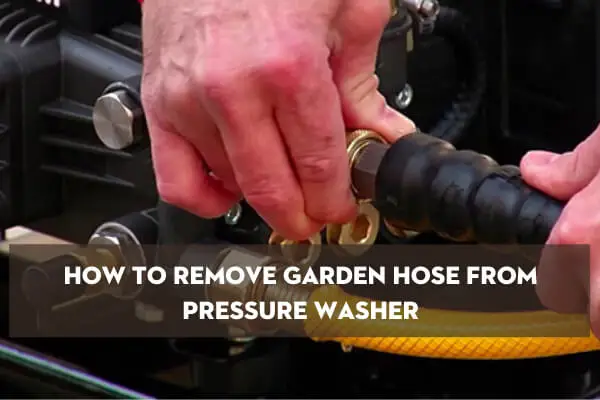
How To Remove Garden Hose From Pressure Washer – Tips To Get Rid Of Stuck Garden Hose Connector
- Put on a pair of rubber gloves to protect your hands. Next, unplug your electric pressure washer from the wall outlet and turn it off.
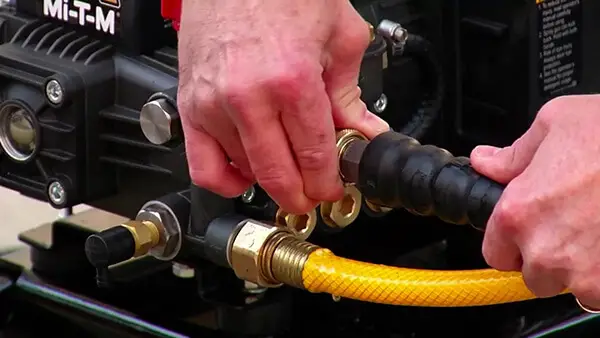
- To discharge all of the pressure inside your pressure washer, squeeze the trigger. At the end of the knurled part of your hose, grasp the brass, plastic, or stainless steel fast connect fitting. Then push it towards your pressure washer’s pump.
- To make it easier to detach the hose, loosen all male and female connectors and sockets. To prevent them from dropping out of sight, spin them with a wrench and then remove them with your hands, placing the smaller bits in your pocket.
- You may now replace the hose on your pressure washer.
- Insert the male repair coupling into one end of your new hose. The ends of the connection may then be crimped flat against your new hose. Then, if there are any compression rings on the crimped ends, tighten them.
- The female repair coupling may now be inserted into the other side of your new hose. Then, just like you did with the male end, crimp the ends to make them flat. Any compression rings must now be secured.
- Finally, the male and female repair couplings must be connected. Then, using your wrench, tighten them all up.
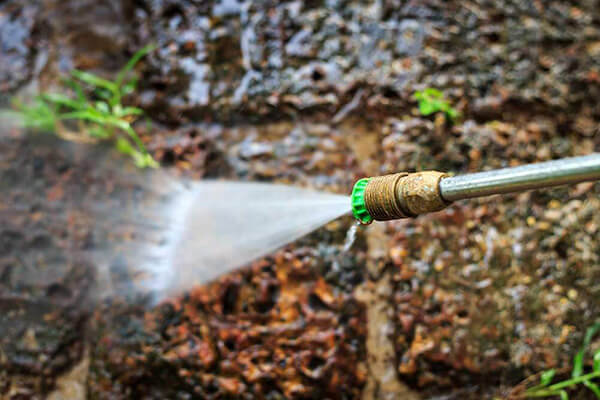
How To Remove Pressure Washer Nozzle
Stop the Water Supply
A nozzle’s primary purpose is to deliver water, and it might get clogged by water or debris. So the first step is to shut down or restrict all water sources that flow into that canal. This step is necessary to avoid water splashing if the screws around the nozzle are adjustable. If you’re using a high-pressure nozzle, this step is also required.
Wear Your Safety Gloves
When working with hose nozzles and connectors, you must ensure that your hands are protected. The importance of safety cannot be overstated. When you’re finished, firmly grip the plier at the base of the hose connector. Next, begin unscrewing the base in a clockwise manner. Turning the plier to the left usually loosens the hose end connections.
Pound The Base
Use a hammer to pound the surface of the sprayer’s base if you see any rust. You may also loosen the connection by turning the hose connectors back and forth with a pipe wrench, then hammering the surface.
Pipe wrenches are employed in the plumbing industry because they make twisting tight connections simple. The hammer will loosen the threads on the sprayer, reducing corrosion. To avoid harming the base and the spray process, be cautious while repeatedly using the hammer.
Heat the Sprayer
The sprayer will need to be heated directly. You may do this using a blow dryer or boiling some water and pouring it into the hose fittings or connections. The metal contracts when exposed to hot water, loosening the fittings and making them easier to remove.
Unscrew the remaining section of the spray with your hand, pliers, or pipe wrenches after seeing the base accumulated a significant amount of heat.
Remove the Hose Nozzle
Apply some lubrication to the spray fittings, such as WD-40 (available on Amazon), and allow to dry somewhat before proceeding to remove the hose ends. If the initial application does not work, increase the amount of lubricant used.
Alternatively, sprinkle some lime onto the hose fittings and leave it dry for a few minutes. The solvent can release debris and grime from the hose end. The spray or hose must have gotten slack due to this for the nozzle to come off.
Check out this video:
How To Prevent Stuck Garden Hose
Here are three methods to avoid having your garden hose stuck:
- If it’s aluminum, take it out frequently. Remove your garden hose from your outdoor faucet at least 3-4 times during the season if it contains metal fittings. Also, never leave it on in the winter or throughout the chilly months.
- Garden hoses with brass fittings are the only ones to use. Do you genuinely want to fix the problem? Never use an aluminum-fitting garden hose. It will erode and fuse with your brass fixture over time. Instead, purchase a garden hose with brass fittings to eliminate the problem.
- Apply silicone grease to the threads. Whether your garden hose includes aluminum or brass fittings, coating the outer threads of the fixture’s hose bib and the internal threads of the hose fitting with plumber’s silicone grease is an intelligent preventative precaution.
Essential Considerations For Removing A Garden Hose Safely
- If you have a pressure washer with a fractured hose, replace it right away. A broken hose might be the difference between remaining at home and going to the emergency room.
- Even minor damage to your washer or hose might be hazardous. The force with which the water exits the machine is quite hazardous. At that pressure, you don’t want it going into your eyes.
- Don’t try to repair a hose hole with super-strong adhesive or tape. When they give way, the high-pressure water will hit you forcefully and shred your flesh, even if they will contain it for a while. It may also damage anything you are washing.
Conclusion
Congratulations! You’ve mastered the art of how to remove garden hose from pressure washer and how to repair a pressure washer hose. We recommend that you take all of the steps outlined above. We proposed the steps based on our own experience, and they will undoubtedly work for you.
All of the advice in that section is intended to keep your garden hose in good working order. As a result, if you follow the recommendations, you will be far from having a jammed garden hose.
Related Post